Thursday, December 22, 2022

What else I've been doing with my time

After a flurry of novelties, I found myself doing a number of "not novelty" quilts this fall.  Here is a summary

Wedding gift - I discovered I really missed working with color so to compensate I used a wonderful minky-like backing.  The pattern is farmhouse stores by Needle in a Hayes Stack from Connecting Threads.  I liked the secondary pattern but it was pretty fiddly.  I don't think I'll do it again.


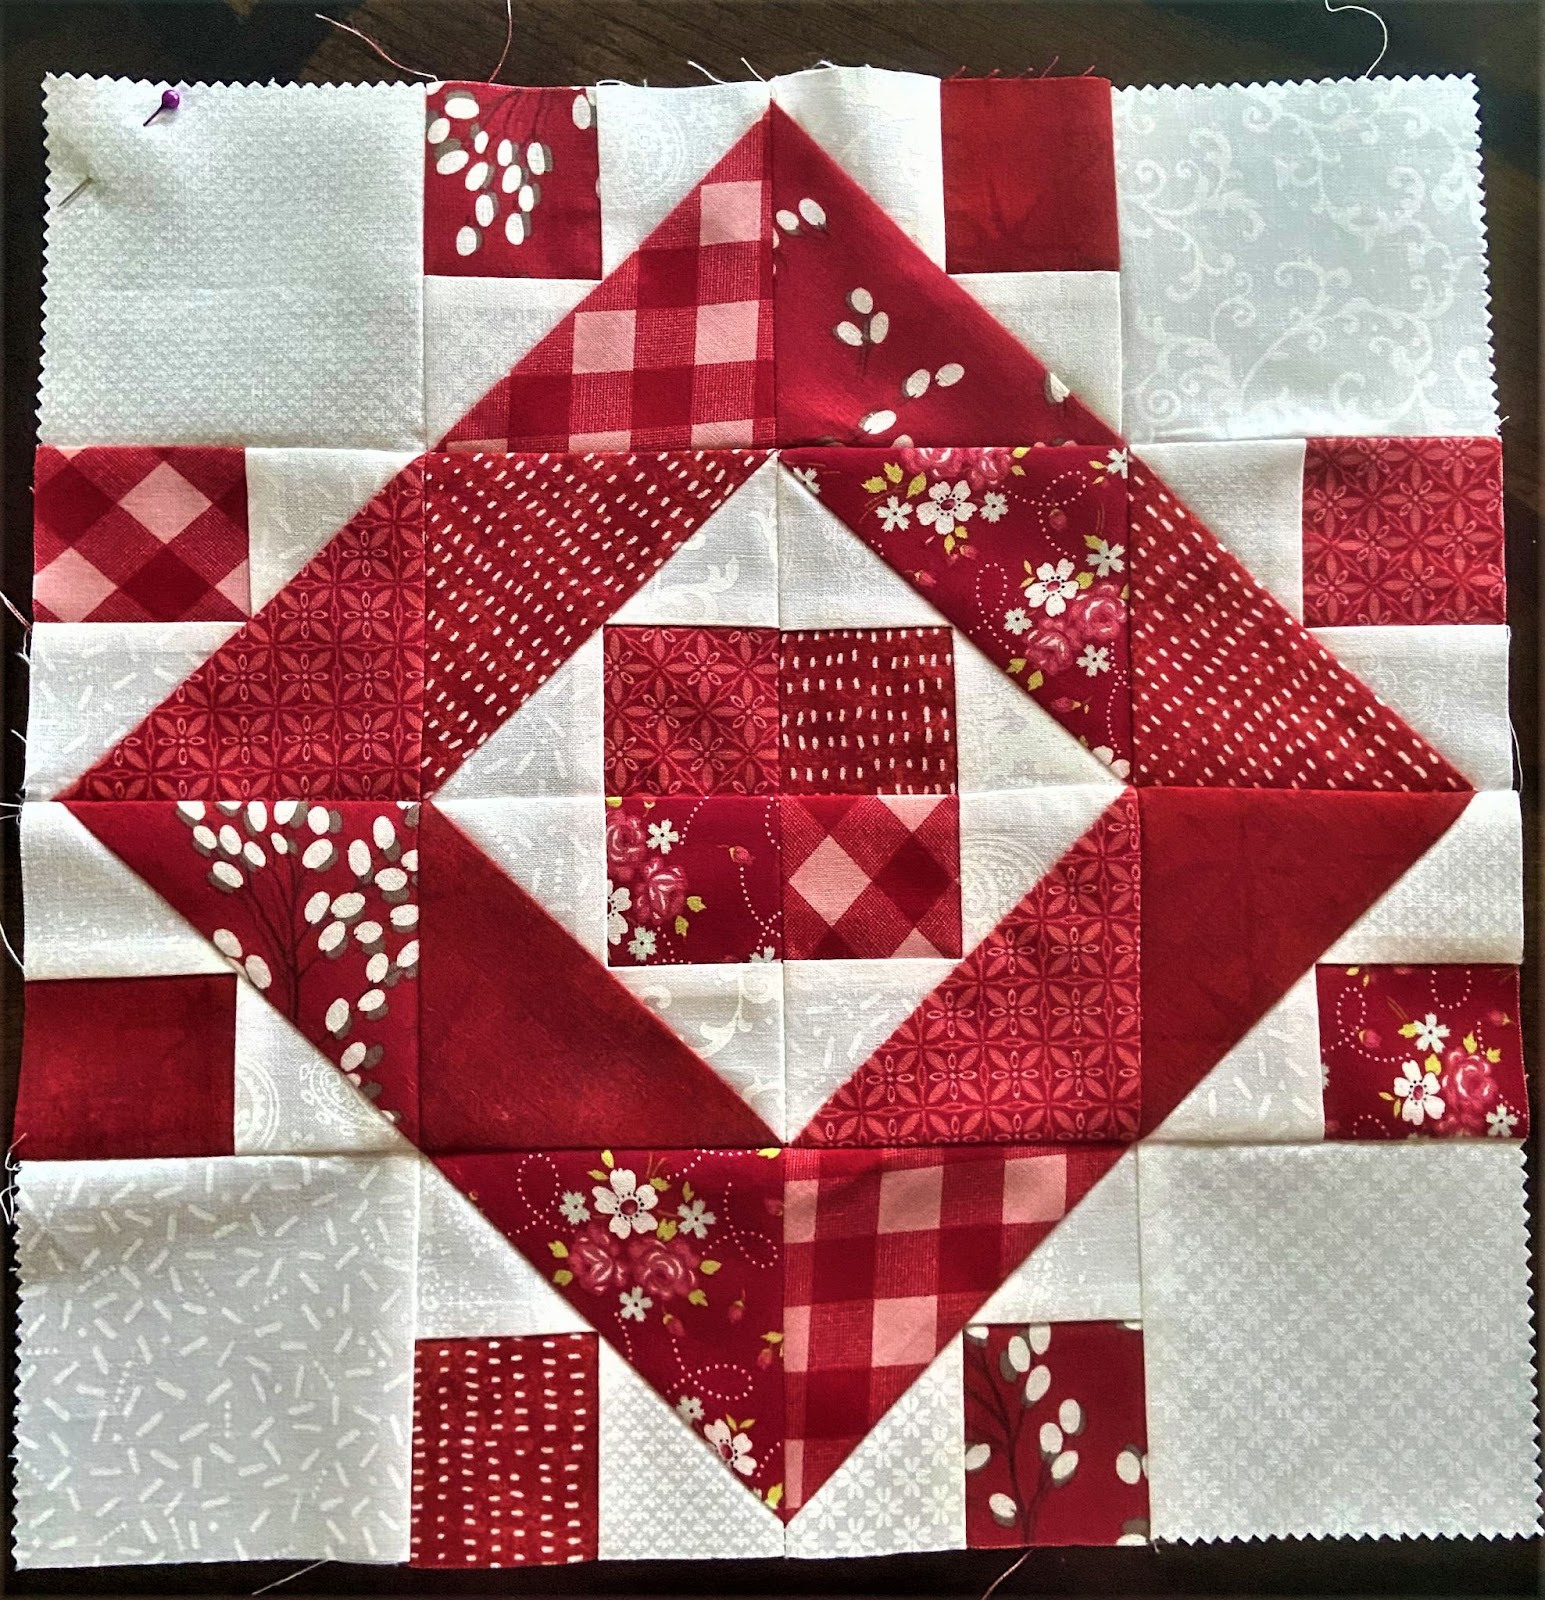
Some patriotic quilts for Roll Call - fun patterns but discovered I really did not like being limited to red white & blue.  This first pattern is called Nova by GE Designs.  I did like this one and I think it would work for novelties.  I might give it a try down the road.


Most of the stars in this quilt were made by another member of the guild.  I added a few more to fill in and made the sashing.  The block is nice and easy, no risk of cutting off points since the star floats inside.  I think this is my new favorite way to make easy stars.


This patterns was much more difficult than anticipated, and with the busy fabric the details got completely lost.  I got the idea from facebook and don't know the name of the pattern.  I liked the secondary design between the blocks.  However the fabric that was donated really didn't work with the pattern.  So after making six, I changed and made some easy stars like the quilt above for every other block and you cannot even tell.  This was a lesson in fabric choices.  I should not have used such a busy red or blue for a detailed pattern.  It kind of makes my eyes hurt a bit, soo much going on. 


After the gray, and then the patriotic quilts, I definitely felt the need for some serious color.  A couple of years ago I had seen a scrappy quilt made from little stars & string blocks arranged by color.  So I had started making the little stars (4.25 finished) to use up a bunch of  little tiny triangles, trimmed from all those folded corner novelty quilts.  However my stars were much smaller than the original idea, so my string blocks were much simpler than the original idea.  I added the black diagonal and sashing which changed the look of the quilt significantly.  Very dramatic.  Using strings and crumbs from the scrap bin made a serious dent in my scraps.  This one is much bigger than my usual wall quilts at 72" x 82" so I guess it will go on the twin bed.  It sure is BRIGHT - whee!  But as my son who has taken up painting pointed it, it is not technically a rainbow quilt.  Oh well.  I think I arranged the colors based on how many stars I had made in that color.  And yes, I did fix the one block that is turned.  But It was so big on the design wall I didn't put it back up to re-photograph.


This was the result of a guild workshop with J. Michelle Watts.  It was fun to meet her and show her my Talevera Medallion made from her pattern.  And the workshop was fun and very well done.  I  even got to use a specialty ruler that had been in my stash for 15 plus years.  I took the opportunity to work on my custom quilting skills.  I definitely got more comfortable with ribbon candy in all the pastel sections.  And I was able to use only fabric from my stash.  The color inspiration was the Aurora Borealis paintings that my son has been making.


Wednesday, December 21, 2022

A few new patterns and some old favorites

I recently ran across this fun pattern called Open Options by Material Girlfriends.  The pattern includes so many fun layouts I had to try a few.

Colored circling triangles - this one the circles aren't as obvious in person as they are in the photo but it was fun to make.  It only uses a 4.5" square, a 2.5" x 4.5" & a 2.5" x 6.5" rectangle and lots of triangles.  Oh, and that Simple Folded corners ruler I mentioned in my last post - so Easy - love it.  I did pay attention to my pressing so that I could nest the triangles where they meet between the blocks - I didn't want that seam to be obvious.

This black and white version only uses novelties that read as black or white to try and keep the integrity of the pattern.  It does make your eyes jump around a bit, but it was nice using up some of those black and white novelties that never seem to make it into a quilt. I used that fireworks fabric for the border to add some more color but I didn't get a photo before it was donated to a local charity.  I don't think this one is as successful as the colorful version but still a good trial.


Beth's scraps - this pattern was taught as a workshop by a friend who also collects novelty fabrics.  The pattern works very well with novelties.  Each block uses two 4.5" squares and two four patches.  A design wall was helpful as you need to get the fabric placement laid out before sewing those four patches.  There are lots of layouts possible with this block.


An old favorite - I call it X's & O's or Hugs and Kisses.  Previously I've added sashing to make the X & O patterns more obvious, but this time I just set them together.  It is made with a 4.5" square with the opposite corners cut off in a semi-snowball.  I've made it multiple times through the years but that new ruler sure was helpful - though I did have to experiment a bit to determine how much to trim but still leave a large portion of the novelty.


This next block pattern is called Radiant.  Similar to a log cabin block, it can be used to make many fun layouts.  I have made it once before using a square layout which I really like.  But the zigzag is fun also.  The block is constructed by sewing two full blocks (one with a yellow center, the other with white outside) and cut them in half on the diagonal.  Then pair it with the the alternate block and sew back together.  Last time I just lived with there being a repeat of the fabrics in another block.  This time I just made a second quilt in a different layout - two quilts for the price of one (well sort of).

Radiant Squares


Radiant Zigzag


Large Pinwheels is a simple pattern but very effective with the novelty fabrics.  This is an instance where the piano key border is perfect.  I forgot to get a photo before I gifted to my college roomate for her first grandbaby.  Fortunately she still had it and sent me the photo below.  


Initially this quilt was going to be smaller (see below) but I just was too uncomfortable with the partial pinwheels so I added the additional columns at top & bottom to even things out.  I like it much better though it did make it a very large quilt.  I also experimented with using batting with fleece.  The fleece seemed kind of thing but with the batting it is VERY puffy and snuggly.  I think the quilt will be loved and used for a long time - and it is going to Oklahoma where it gets colder than here in North Texas.


The border makes the quilt - and a few new patterns


I decided recently that I really needed to add borders to the tops before I hang them in the closet.  Doing the borders is definitely one of my least favorite parts of making a quilt.  I get excited with the pattern idea, selecting and cutting the fabrics.  And I love watching the blocks come together.  But then.... what to do with the border.  Ugh.  And even once you decide, sewing borders is soooooo boooooring - like driving I10 between Las Cruces & Deming (my home town).  Sigh.  The result is I end up with a closet full of tops that I can't quilt because they need a border and I'm stymied with how to finish.  I've got to stick with the tops until the borders are done so I don't have a bunch to deal with. New years resolution - ha!

This top was finished several months ago but I like it much better now with this border.  The narrow inner border adds the right amount of contrast.  And the fireworks fabric is a great match to the fun novelties.  I have found that part of the difficulty with borders for novelty quilts is finding that balance between contrast to the center and overwhelming or underwhelming the novelties.  So I'm always looking for good candidates for novelty borders.  This one works pretty well.  (Pattern is Rick rack by MSQC)

I always have LOTS narrow scraps left from fussy cutting.  So for several years I've been making them into piano key strips.  Frequently they get used in the body of a quilt but they also make great borders. After my recent push to add borders to all the unfinished tops, I now am officially out of piano keys.

Sometimes piano keys are too busy if the center is especially busy, but on this one with all the white space, I think it works exceptionally well.  


One other thing I want to note on this pattern is how easy it is with a ruler I purchased last summer.  I have made a large number of patterns that use what is called a folded corner triangle.  The typical method to construct this uses a background square, draw diagonal across the corner of the square, sew & trim.  But I've never liked the wasted background fabric, plus I never seem able to get it lined up properly.  For years I've been using oversized triangles & trimming, but still drawing the line on the base fabric.  This new ruler, called Simple Folded Corners, takes out that drawing a line step.  Instead it is marked with the seam allowance so you can just cut off that corner & sew a regular seam.  I still like sewing an oversize triangle then trim - but that's my perfectionist side coming out.  That new ruler made sewing the above quilt so quick and easy.  Some specialty rulers get used once then put away.  But this one I've already used multiple times. It is also great for snowball blocks or any block where you are sewing a triangle across a corner.

Back to borders. This nested friendship star is a repeat pattern, but still a favorite.  It works pretty well with the piano keys, but looking at this picture, I wish I had made the inner border larger or white or something.  Or maybe the chopped off stars just bother me.


This quilt is such a fun pattern.  And it is just a standard attic window block, but with half the blocks turned to form a secondary pinwheel.  I really love secondary patterns, they are like little surprises.


As a contrast, this quilt really didn't need a border at all.  It looks great with just a simple matching border, anything else would detract from the pattern.  This layout called Floating Squares is one I've made several time and one of my favorites.


Thursday, October 6, 2022

Not novelty, But I have to BRAG

 About a year ago I joined my first quilting guild, a relatively small country guild near my home.  Prior to Covid changing my work schedule so dramatically, I was never able to make any meetings regularly so I only connected with other quilters online.  Joining this local guild has been lots of fun, meeting new people.  They have a quilt show once every two years so I decided to enter five of my quilts (many discussed in previous posts here).  Well I was so thrilled to win ribbons on every applique quilt and one of them even won Judges choice. It was so amazing to walk in and see my quilt at the front of the room with that big ribbon.  And even more fun to talk with people about the quilts.

My Christmas Frame quilt won a 2nd place ribbon and Judges Choice.  The judge was extremely complementary, even going to far as to say she admired my work.  Wow.  And my quilting was Outstanding.  Really? Didn't she see all the places were the beads weren't round or crossed over the line, or where the stitch in the ditch wobbled?  Lesson learned - at least at this local show - perfection isn't required - even though sometimes I expect it of myself.  Every stitch doesn't have to be exacting, the overall effect is what is important.  Not saying I'm changing to the "back of a galloping horse" camp - I still like precision.  And I always want to do my best.  But sometimes things are good enough.  I'm the only one putting my nose up to the quilting and expecting machine perfection.  Ok, enough introspection.


My reverse applique won 3rd place.  The looped binding was a big hit with the other quilters.  Lots of discussion around the quilt, almost as much as the Christmas Frames. I got to explain how the loops were made and also how reverse applique works.  This wonderful pattern is from Eye of the Beholder Quilts - they have so many wonderful patterns.


This next was a prepared edge applique quilt I started 10 years ago on a trip with my daughter.  The pattern by J. Michelle Watts was very intricate & I only ended up making 4 of the 12 blocks.  I had been too afraid to quilt it, that I would "ruin" it, so I had my sweet friend Ami quilt it for me.  Her quilting is amazing.  The quilt won honorable mention - my other quilts had already won 2nd & 3rd, so I almost swept the category.  

My hand pieced forever project won 3rd place in the medium size category.  The judge especially appreciated how I did the border.  Which I have to admit, I am pretty proud of my solution there.  That border is the reason why it took me so long to finish it as I was stumped how to solve the problem of that uneven edge.  I kept thinking I should applique it but couldn't figure out how to do it so it would be flat & even.  Finally the light bulb moment was when I decided to just piece it the same way I had pieced the flowers, drawing special shaped templates from the originals.  Easy as could be, kind of embarrassed it took me so long. 

I'm thinking about entering the Christmas Frames in the Dallas show in the Spring.   I'm a little nervous about trying a big show, but who knows.  In the meantime, I can't wait to decorate for Christmas this year - looking forward to enjoying it through the holidays.


Thursday, August 18, 2022

Catching up - AGAIN!

 Where does the time go!  I guess it's a good thing that I get busy sewing and don't notice how much time has gone by.  Means I'm having fun, right?  Once again I noticed that I hadn't update my blog in forever, or at least I hadn't posted any new I Spy quilts since October of last year.  And here it is mid August and I'm way behind.  Hmmm.  Too many to put in one post, so I'll break it up into those actually FINISHed.  That leaves a bunch in the closet but I'll snag those later.  

Below is a recent quilting binge - I had volunteered to donate some "baby quilts" to our local guild to be sold at an upcoming quilt show in the "country store".  Well oddly enough I didn't have a single finished I spy quilt ready, just some 15 tops hanging in the closet.  Better get quilting.  Then of course since I already had the bolt of fleece on the machine, I might as well keep going.  The result is eight finished tops - though I'm only donating four.  The rest will go into the pile for future gifting.  Several of these are the result of a bunch of kits I put together to work on at a recent quilt retreat - I do love to put kits together in group - makes it nice to just sit and sew later.  

Many of these were patterns I had made before years ago but wanted to do them again.  This disappearing 9-patch is one of those.  It's so easy but always looks so cheerful and happy with the tone on tone colors to set off the novelties. 

This pattern is just an idea I had - what would it look like if you made a sort of snowball block on two corners, then combined with another, and offset the rows.  I think it looks a bit like either strings of beads or perhaps hourglasses.  But it's a little busy, not sure how I feel about it.  But it did use up a large number of 4.5" precut squares and lots of scrappy piano keys from left over fussy cutting.

This pattern called Key to my heart by Busy Hands Quilts also utilizes only 4.5" squares.  I love being able to use those precut squares - no measuring, just pulling them out of the drawer.  Four of similar color are grouped into a large snowball block of 8".  The other block is sashed with 2" strips, also making an 8" block.  I love how such simple construction makes a complex looking pattern.


Last fall I got a "wild hair" and thought I wanted to make some rectangle star blocks.  Hmmm.  Well I did make a large number and put them together in sort of dancing star layout.  The novelty fabrics ended up being pretty small pieces so I don't think it works all that well as an I spy quilt, but still interesting.  I definitely won't be doing this one again  - those rectangle triangles were too fiddly - I had to think too hard to keep it straight which direction they were going.


I sewed this one at a recent retreat.  It is sort of a cheater majestic mountains pattern.  You start with a large square, cut it on the diagonal, then sewn into a large half square triangle block.  Then you cut that into strips and sew them back together in the opposite order, making the points of the "mountain".  You end up with a rectangle block.  I have done this one years ago and wanted to do it again.  It is pretty fun to sew and the other retreaters were impressed.  I think I want to do this one at some point with batiks, the novelties distract a little bit from the pattern unless looking from a distance.


This pattern is also a repeat.  I got the idea several years ago (15?) from the blog by Melissa Corry of Happy Quilting.  She called it Jelly Beans.  I really liked the effect of the black vs white diagonal stripes.  The top uses two blocks, one made from four 4.5" squares, the other with a 4 patch in the center surrounded by 2x4 strips & 2" corners.  The layout is critical to get the colors in the right places on these blocks so the design wall was critical.


Another repeat here, just large (six inch) half square triangles, arranged in a large swirl.  Quick and Easy.  I did repeat the fabrics, but mixed up the triangles.  Not only can you play I spy, but you can play matching with this one.

I love how this next one turned out.  Another very simple idea with great results.  Just 4 patches, surrounded by diagonal fabric sashing, then turned on point with narrow black sashing.  I had that diagonal fabric forever but it never seemed the right thing to use but it looks great here with the black contrast.


There definitely is a feeling of accomplishment seeing all these completed quilts stacked up so pretty.


Adding borders - tips

Back in 2000 I made my first quilt.  One that quilt I made the discover that you can't just add a long strip of fabric to the edge of the quilt to make your borders, sewing it on without measuring.  Those borders waves like a flag in the breeze!  That was one of my first lessons that sewing quilts was NOT the same as sewing garments.  

Over the years I've seen several different instructions on how to add borders in a way to avoid those rippling edges.  This is my favorite and you do not need a measuring tape or calculator.  I'll also show an easy way to add multiple borders using strip piecing.

Fold your quilt top in half, lining up the edges.  Fold in half again so that the bottom corners line up with the center fold on your quilt.  If you don't meet EXACTLY, you can give them a gentle tug.  Hopefully if your piecing is moderately accurate they will be pretty close.  If they are more than 3/4' off, consider making a few seams just a smidge larger to take up the difference.  Adding a border won't correct that much of a difference. 


Take your 1st border strip, laying it right side down along the edge of the quilt top.  Cut to the width of the top - you can just fold it back at the edge and use your scissors.  


Cut two strips this way.  While it's laying on the top, you can easily pin the 1st edge.  Pin starting at each end, then in the middle, then fill in pins about 4 or 5 inches apart.  Push them in far enough that they don't get pulled out while you move the quilt around.  Then flip the edge back and pin the other with the second strip - no need to unfold the entire quilt.  Take the pinned quilt to the machine and attach the first border along both edges.  Press this border.  I like to "set" the seam first before pressing open. I think it opens better, presses flatter if you iron the edge flat first.

Once these first borders are pressed, fold the quilt the opposite direction in the same manner - in half and then in over again so that the edges align with the folded center of the quilt.  At this point I take the next strip and get a rough idea how long I need for two strips by measuring against the edge of the quilt.  Then I take that strip along with the wider border to the machine and sew them together.  That way when I attach them to the quilt, I've effectively attached the second border at the same time.


Once the two borders are sewn together, I again measure them against the edge of the quilt, fold & cut with my scissors.  


Press the strip set open & pin to the edge of the quilt on the first edge. 


 Fold this edge back to expose the other side & pin that one as well.  No need to unfold the quilt.  


Attach strip set to each quilt edge.  Press open.  At this point you'll have two borders on opposite sides and one on the other.


Refold the quilt in the opposite direction.  As previously, match the edges, then fold again, matching the edges to the center fold.  If needed you can gently tug to get the edges even and flat.  Now attach the final wide border.

You can alternate attaching two borders multiple times, until the last single border.  I find it easier to sew the two strips together and then attach to the quilt rather than dragging the quilt to the machine for each border.  But you need to attach the first and last border singly so that the corners overlap correctly.

Friday, August 5, 2022

Learning something new

 Our local quilt guild recently included the following article in the newsletter on a way to organize your blocks for sewing in the correct order.  I was skeptical at first because I've always used my little flannel flags.  But pinning them on my latest quilt last night felt like a big project ( 8 x 13 = 104 blocks).  So I gave "booking" a try and I have to admit, it was pretty fast and easy.  I'm generally not a big fan of keeping the threads in place when chain stitching but it's pretty critical for this method.  It's always nice to learn a new method to try.  I will likely still use my flannel flags in some situations such as when packing a kit - but for short term or smaller projects it's definitely a good way to "organize" your blocks and your sewing method.


Booking a Quilt - Written by Rex

Booking is a method of stacking individual quilt blocks in 1 pile to allow you to stitch the

blocks together correctly into a quilt top.  The top may be sewn immediately or later. 

For the purposes of this instruction columns are vertical, and rows are horizontal. 

Booking is also useful when piecing a multi-unit block, which I’ll show here.  

The process is the same.


Lay out your blocks on a design wall or on the floor or bed. 

Be sure all the blocks are turned correctly, and you are happy with the layout.

Put a straight pin in the upper left-hand corner of the upper left block. 

It does not matter which corner you choose; it provides orientation while you sew.

Place column 2 blocks face down on column 1 blocks.

Flip them as if you are closing a book.

Touching edges stay together.


Gather column 1/2 into a neat pile beginning at the top so that the top block remains on top

of the pile. Work neatly so all blocks remain oriented correctly.  

Place column 1/2 pile at bottom of quilt in #1 position.


Stack the remaining columns straight down, do not flip.

Be sure to keep the piles oriented correctly and in order with top block on top of the pile.


Gather the piles with column 1/2 on top, then on top of 3, 4, 5 and so on.

Again, stay correctly oriented.  


You will then have 1 pile of blocks with a straight pin in the second block from the top. 

Move to your sewing machine or to storage. 

You can store this stack for as long as you need and will be able to come back to it later

without problems.

Though you may want to clip them together in case they are dropped.

When you are ready to sew, place the pile of blocks to the right of the sewing machine. 

Feel around the pile until you find the straight pin.

Place the pinned corner to the upper left

.

Pick up the first two blocks (face together) and sew along the right edge.

Do not cut the thread. Feed the next pair of blocks sewing along the 


right edge. Again, do not cut thread. Repeat until you see a face-up block,


which indicates that you have sewn the first two columns in all of your rows.  Cut the thread.


Pull blocks toward your body until you reach the top of the column. 

Open and add the next block from the stack to the right edge, taking care not to rotate.

Do not cut the thread.

Continue until you reach the end, cut the thread, and repeat.

When you run out of blocks, your completed rows are held together by thread. 

Take to the ironing board. Press seams opposite on each row so they nest. 


All that’s left is to sew the rows together!

A special “Thank You” to Anita Ruthenberg,

who taught me this technique!


And another thank you to Rex Shrauner for writing this up!