Our local quilt guild recently included the following article in the newsletter on a way to organize your blocks for sewing in the correct order. I was skeptical at first because I've always used my little flannel flags. But pinning them on my latest quilt last night felt like a big project ( 8 x 13 = 104 blocks). So I gave "booking" a try and I have to admit, it was pretty fast and easy. I'm generally not a big fan of keeping the threads in place when chain stitching but it's pretty critical for this method. It's always nice to learn a new method to try. I will likely still use my flannel flags in some situations such as when packing a kit - but for short term or smaller projects it's definitely a good way to "organize" your blocks and your sewing method.
Booking a Quilt - Written by Rex
Booking is a method of stacking individual quilt blocks in 1 pile to allow you to stitch the
blocks together correctly into a quilt top. The top may be sewn immediately or later.
For the purposes of this instruction columns are vertical, and rows are horizontal.
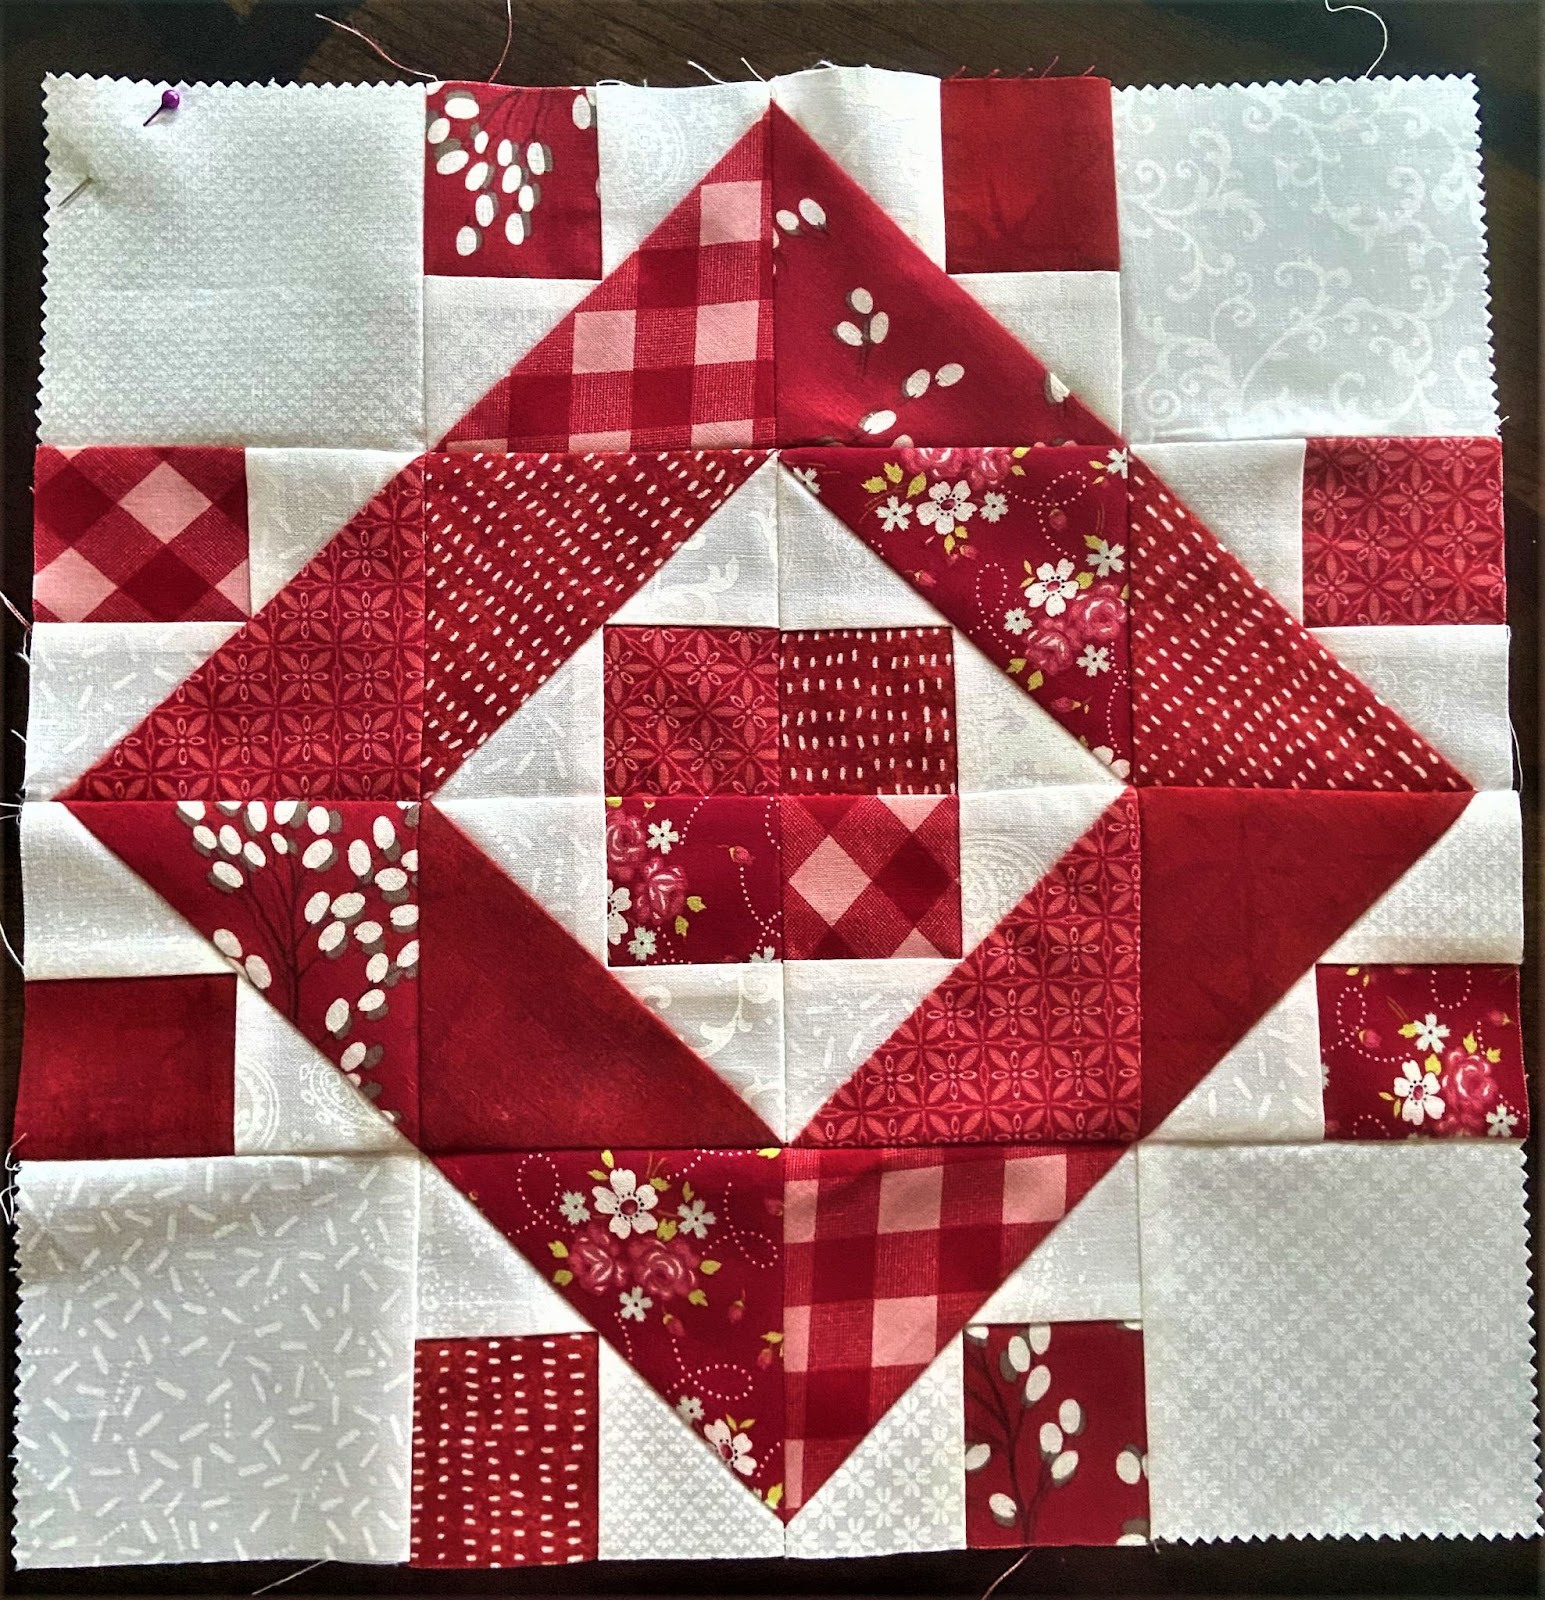
Booking is also useful when piecing a multi-unit block, which I’ll show here.
The process is the same.

Lay out your blocks on a design wall or on the floor or bed.
Be sure all the blocks are turned correctly, and you are happy with the layout.
Put a straight pin in the upper left-hand corner of the upper left block.
It does not matter which corner you choose; it provides orientation while you sew.
Place column 2 blocks face down on column 1 blocks.
Flip them as if you are closing a book.
Touching edges stay together.

Gather column 1/2 into a neat pile beginning at the top so that the top block remains on top
of the pile. Work neatly so all blocks remain oriented correctly.
Place column 1/2 pile at bottom of quilt in #1 position.


Stack the remaining columns straight down, do not flip.
Be sure to keep the piles oriented correctly and in order with top block on top of the pile.

Gather the piles with column 1/2 on top, then on top of 3, 4, 5 and so on.
Again, stay correctly oriented.

You will then have 1 pile of blocks with a straight pin in the second block from the top.
Move to your sewing machine or to storage.
You can store this stack for as long as you need and will be able to come back to it later
without problems.
Though you may want to clip them together in case they are dropped.
When you are ready to sew, place the pile of blocks to the right of the sewing machine.
Feel around the pile until you find the straight pin.
Place the pinned corner to the upper left
.

Pick up the first two blocks (face together) and sew along the right edge.
Do not cut the thread. Feed the next pair of blocks sewing along the
right edge. Again, do not cut thread. Repeat until you see a face-up block,
which indicates that you have sewn the first two columns in all of your rows. Cut the thread.


Pull blocks toward your body until you reach the top of the column.
Open and add the next block from the stack to the right edge, taking care not to rotate.
Do not cut the thread.
Continue until you reach the end, cut the thread, and repeat.
When you run out of blocks, your completed rows are held together by thread.
Take to the ironing board. Press seams opposite on each row so they nest.
All that’s left is to sew the rows together!
A special “Thank You” to Anita Ruthenberg,
who taught me this technique!
And another thank you to Rex Shrauner for writing this up!
No comments:
Post a Comment