Tuesday, June 18, 2024

Hand Pieced Treasures - General quilts

 Going back through my spreadsheet list of quilts that haven't been documented, I see several of my most treasured quilts.  These quilts are either hand pieced, hand appliqued or both.

Several years ago there was a lady on the About.com quilting forum who volunteered to teach people hand piecing.  She even sent everyone a little kit and sample needs.  I enjoyed it so much I made several of them in two sizes.  Then I put them away as I couldn't figure out how I wanted to finish them.  Some time later I went to the first VOS retreat (a group of quilters in Arizona from About.com).  They had a block raffle for black/white & bright blocks.  I didn't win, but loved how the blocks looked on the design wall.  So I made some of my own, using patterns from Quilter's Cache (another About.com forum member).  They looked great with the bright stars.  I then asked for suggestions for borders.  Another quilty friend suggested a vine border.  The hand piecing took a year, the border another year (soooo many leaves), and the hand quilting a third year.  It hangs in the place of honor in my studio, even though it's fading a bit from the sunshine.  I love looking at it and answering questions about it.  It reminds me of all the lovely years spend with my long distance forum friends who taught me so much.  Definitely one of my favorite and most loved quilts.


About the same time I was making the black & white blocks, I was having fun hand piecing Christmas blocks.  I had read somewhere that if you tested blocks using Christmas fabrics, eventually you'd have a Christmas sampler.  I was using a background fabric that Joann fabrics had carried for several years, and I had several yards.  But of course when I started doing the sashing, I was 2 pieces short.  Frantic I asked my quilting friends online if anyone had some, and one of my VOS retreat friends had a yard.  I love putting this quilt out each year.


At one point I thought I might try making a Dear Jane quilt, but rather than following a pattern I wanted to pick out my own blocks from various sources.  After making two dozen four inch blocks using blue and green batiks with white background, I decided I was done.  So I put them away for a while. Later thinking about how I could finish them out, I saw a setting idea on the cover of "Precision Piecing" by Sally Collins.  I liked the effect so I started piecing a Carpenter's Wheel pattern around each of 20 blocks.  By the end I was heartily sick of Carpenters wheels.  Then I decided to do a very narrow sashing with a pieced border.  And of course since it was all hand pieced, I had to hand quilt it too.  After all this handling, several of the blocks were dirty, so I decided to wash it and block it.  And of course even though the batiks had been prewashed, some of them bled.  Sob.  I lived with it for several years until I ran across an article called "Save my bleeding quilt".  I tried it and it worked - HAPPY DANCE!  I dearly love this quilt and it hangs in our dining area where I can look at it from the kitchen & my office. 


Several years ago there was an exhibition of red and white quilts which I would have loved to see in person.  But I bought the book and enjoy looking through it regularly.  Since my daughter's favorite color is red, I decided to make her a red and white quilt using Red Batiks.  I had some Hawaiian patterns for hand applique and decided to pair them with paper pieced sawtooth sashing. After my experience with batiks and bleeding, I prewashed these red batiks six times before piecing.  I then used the "dawn bath" after the quilt was done.  There was still a little bit of pink in that water, but NO bleeding!  The quilt was hung in my daughter's apartment over her sofa, which means all her zoom classmates during Covid were very familiar with this quilt.


And another red quilt for my daughter.  I talked about this quilt in Feb 2021 in detail, but since it is one of my favorites that I'm most proud of, it needed to be here too.


Since I was loving applique so much, I decided to try reverse applique.  This pattern from Eye of the Beholder was so much fun.  Originally a table runner, my husband wanted it to hang over some electrical cords in the den.

I have to mention my Christmas Frames quilt.  I've posted about it separately a couple of times, but it definitely is one of the quilts I would grab if my house was on fire, so it should be included here.  Some day I'll stop talking about it all the time, but I do so love this quilt.  And it won two ribbons, how cool is that!


Early on I wanted to try hand piecing hexagons.  I cut a bunch (and I do mean a bunch) of scraps.  I pieced lots and lots of hexagons, then struggled with how to put them together into something that made sense.  This is what I came up with.  I'm not in love with it, but there certainly is a ton of work in this quilt.  Even the border is fussy cut and hand applied down.  The whole thing doesn't look like as much work as it was.  This one isn't a favorite, but I'm including it here because of all the hours it took. 


My sister who lives in Albuquerque went with me to a quilt shop when I was visiting.  She loved this pattern and I agreed to make it for her.  The applique was easy, but getting those wedges even and the center circle actually centered was a big challenge.  I ended up gluing them, then sewing down.  And those very narrow contrast borders were much harder than they looked.  But I'm proud of how it all came out.


The Early Years - General quilts

 In my last post, I mentioned I keep a spreadsheet of information on my quilts over the years.  I happened to filter on blog dates and realized there were a number of non-novelty quilts that weren't documented (other than the spreadsheet & photos).  Since I'm no longer keeping a physical binder scrapbook, I've decided to add some posts to document those early efforts.  

I'll start with my kids baby quilts.  Technically at the time I didn't really consider these quilts.  Both of these were remade when they graduated to big kid beds, so the fading is worse in the center section.  I removed the binding and quilting, then added additional fabric to make them twin size.  I was surprised how much the binding had worn, even though it was doubled & bias.  I also had used poly batting and it definitely had worn in places.  I guess that's what happens with frequent washing.  Both these have been very well loved and are still favorite cuddle blankets.


Both my kids also wanted to try making a quilt when they were in elementary school.  My daughter's is music themed.  As I recall she ended up only picking out the fabric and was afraid to use the sewing machine.  For my son's quilt, he did sew the rail blocks and I was worried about him getting speeding tickets once he learned to drive.


My earliest true quilt is one I call "first and almost last".  I had gotten a VHS tape from a crafters book club titled "Lap quilting with Georgia Bonesteel".  I loved the piecing part of the process, but got very bored with the hand quilting.  No one had warned me not to make a king size quilt for my first.  About half way through the quilting, I packed it away.  Years later when I was introduced to quilting using rotary cutters and templates, I pulled it out and finished it.  I DID not like putting the quilted pieces together and have stayed away from quilt as you go projects ever since.  Several of the fabrics have faded from black to dried blood red, the red bled on the white, and the puffy poly batting hasn't worn well.  And of course by the time it was finished, I really didn't like it any more.  But it is done and gets used as a packing blanket periodically. 


After discovering quilting using rotary cutters and templates at a church sew day, I went looking for a local quilt shop.  There I saw this pattern which used fusible grid & 2" squares.  For years this was just a top with no quilting, but eventually I felt kind of silly that it wasn't truly a quilt.  So I added batting, quilting and a real binding.  I still hang it each Christmas. 


One of the early books purchased is called Sensational Scraps and is all 2 color quilts using half square triangles.  It's a fun book and I still have it though I've only made one quilt from it.  This quilt rides in my car and my kids think it's the softest quilt I own.

I tried to figure out this next pattern from a photo in a magazine before I knew anything about paper piecing.  I don't remember how I managed those corner pieces but I'm guessing I drew them out using my drafting skills (before I was an accountant, I was a draftsman).  I had gotten a number of fat quarters from the LQS special new years day sale.  As I remember there are a number of eyelashes on the back in the quilting.  My niece has this hidden away somewhere and I'm sure if I saw it in person now I'd been itching to fix it.  Looking at it now, I'm a little impressed I was able to figure it out without a pattern.


This one isn't "early" but it doesn't really fit in any other category so I'll show it here.  And it isn't really a true quilt either - very minimal quilting.  In 2014 my son decided he wanted the Softest quilt in the world.  So I made him a quilt from boxers (purchased new in XXXXL and washed) and backed with microfiber.  He didn't want much quilting as the thead reduced the softness (he words).  It was very soft, but it's not held up well.  The backing has pilled and the boxers have ripped.  But he still loves it. 


Isn't that a great smile!  My kids have been very patient about my quilting habit.  And my daughter continues to go with me to quilt shows, even one year to Houston.  She still doesn't like to sew but appreciates every quilt I make for her.

Monday, June 17, 2024

What happens when an accountant is a quilter

 Several years ago I decided to start keeping a spreadsheet of all my quilts and related projects.  I realized that there were several quilts that I had photographed that I could not remember where they went.  Also periodically questions would come up about who designed the pattern or the name of the pattern.  Then I started keeping this blog and putting the date & name of the blog post was also helpful.  The next result of all this is I have a lovely list of all my quilts and other than three, I know either the owner or if they were donated.  And of course since it's a spreadsheet, I can also do graphs.  Haha, what fun.

Since I started quilting in 2001, I've made just under 400 quilt, which consist of 47 t-shirt quilt, 215 novelty quilts & 135 other quilts.  Of that, 59 have been donation quilts, 80 are in my personal collection, and my daughter has 13.  Below is the graph by year since 2015 (252 total).  2020 was an unusual year for t-shirt quilts because the company I worked for (Pier 1 Imports) closed down during Covid and I made a LARGE number of t-shirt quilts for people from Pier 1 shirts.  And I pretty much burned out on t-shirt quilts that year.  I have been trying lots of patterns that aren't novelty fabrics in the last few years.  Some of those I have documented here, but many many of the older ones I have not documented anywhere.  So I plan to catch up on those in future posts. I'll mark them as "general quilts" for those who are interested only in novelties.


Ok, I'm making myself tired.  But it is fun and informative to look back and see just where my quilting journey has led me.

Tuesday, June 11, 2024

Recent fun with novelties

 After reading a discussion in a quilting group about the size of people's stash (3000 yds & more), I felt very convicted about my own stash of novelties (which is well over 50% of my total stash and very likely near 3000 yds).  So I determined to go through all of it, cut one 4.5" strip and two 2.5" strips off of every piece.  Then iron & refold the remaining large pieces neatly, cut up any small pieces and make up a bunch of kits ready to sew.  I've realized over the years that I really dislike the fussy cutting and refolding.  So having precut strips in my most used sizes saves time a lot of time & effort and encourages me to get sewing.

The resulting newly cleaned baskets were so neat and pretty and gee I had a bunch of room in every color.  And look at all those strips, organized by color, and ready to be cut into kits (4 baskets full and now I know why so much room in the others).  

And here are some quilts.  The first one is what I call a chandelier quilt.  Very dramatic.  I don't love doing on-point layouts because of the bias but they do look very cool.

This next one was super super easy because the precut strips were already grouped by color, many of them ironed and cut together.  All I had to do was cut off the end.  Very fun, I'll definitely be making more like this.


I got the idea for this from the pattern called Woven Whimsey by Mill Street Quilt Company.  But I changed the construction method to maximize the novelty fabric piece sizes.  It made it more complicated than the original pattern and I'm not sure it was worth it.  But it was a good experiment.

This is super simple pattern just uses a strip set of 4 rails, then add a triangle.  Putting the blocks together was a little fiddly because you end up with matching seams but I was able to nest them without too much trouble.  And they didn't have to match exact.


After all the cutting, I was overrun with left over strips less than my standard 2.5" wide.  So I made a BUNCH of piano keys for borders.  But I had so many I decided to make a string quilt to use up some. I've done this pattern several times and it's very easy and a great way to use up scraps of varying sizes.


The idea for this quilt came from a very graphic quilt a friend made using batiks.  It's basically a trip around the world layout, but with black sashing between the columns.  It didn't turn out as well as the original, but it's not bad.


I found this pattern called Valor, designed for QOV.  But it works great with novelties.  It was especially fun because I got to both match colors for the large squares as well as use other fabrics in the small ones that never get used because they don't match anything else (especially the tans).  This one is definitely worth repeating.


With all those precut strips, I'm excited to get a bunch more novelties done this summer.  Stay tuned!

Quick kid donations

 As a member of three different organizations that make donation quilts for children's charities, I get to make a lot of small quilts with panels, novelties, donated fabric and practice my quilting on a small scale.  Sometimes these are my usual novelty quilts, but many times not.  Here are some recent trials.

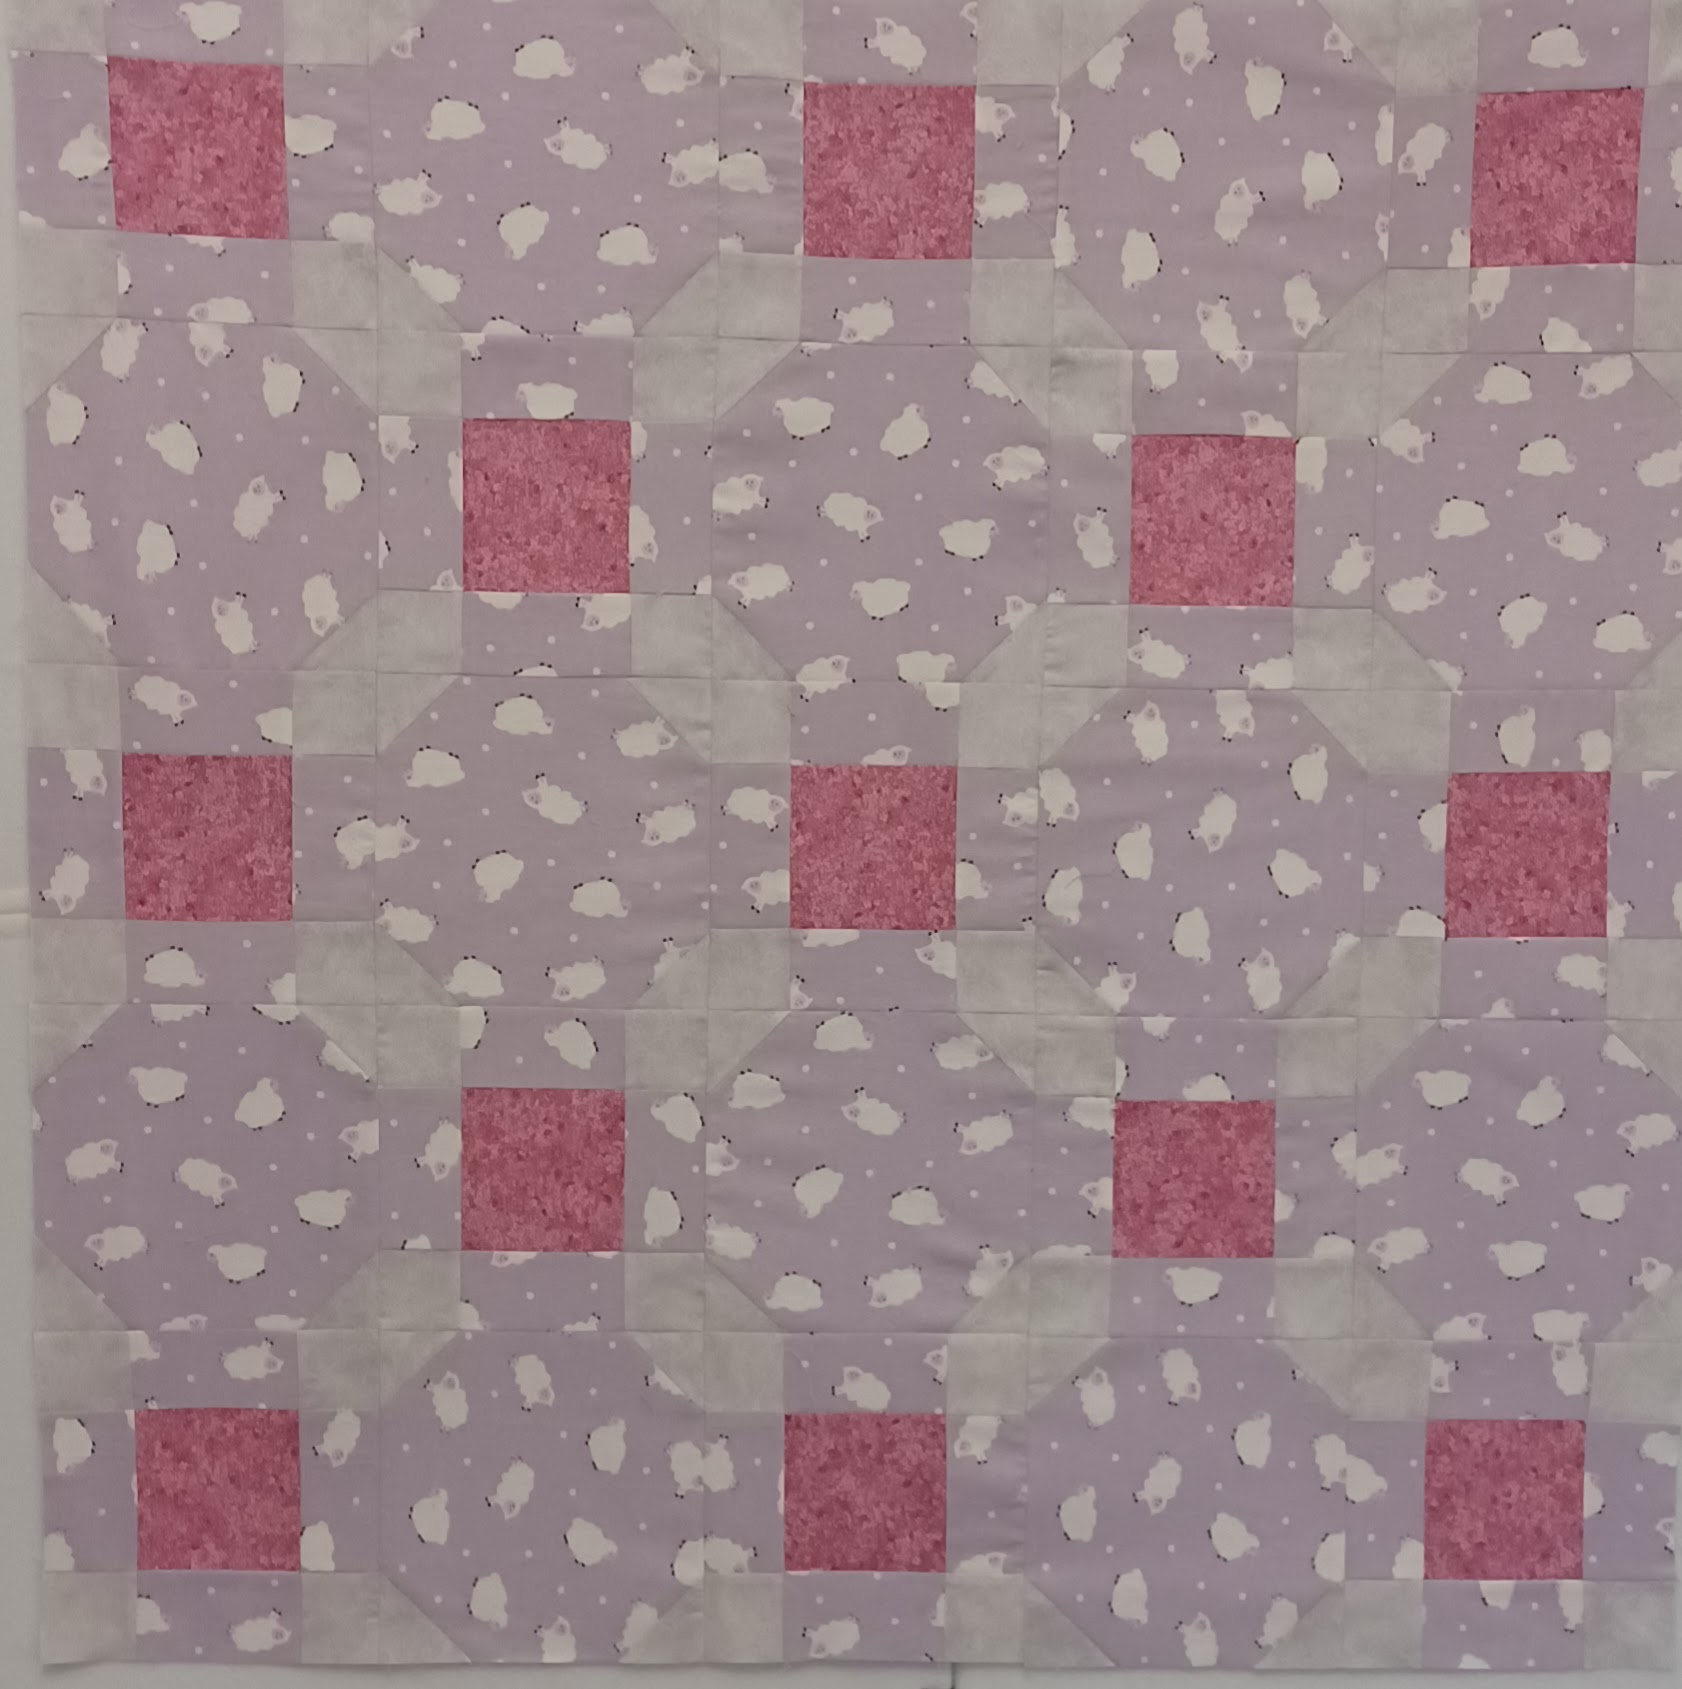
A friend found these llamas on a donation table and I kept some for my stash.  But I know from experience that pink just doesn't make it into my usual I spy quilts very often.  So I decided to use it as a focus fabric instead.  The pattern alternates snowball blocks with framed 9 patch blocks.  I've been trying to print out fewer patterns, so I was trying to just look at the pattern I had put in OneNote on my phone.  And I did the math wrong - so the snowball triangles didn't account for the framed strips on the 9 patch and are smaller than intended.  Of course I didn't have any jade fabric to spare.  But it made for an interesting variation.  I like this pattern a lot because you can do the framed 9 patch using strip piecing, so it goes together quickly.

This next quilt didn't work out so well.  Originally I was tempted to use black instead of the gray but felt it would be too much contrast.  But the gray I chose was too little contrast - I should have tried the black & white photo trick to check.  


I tried doing some custom quilting to emphasize the gray - it didn't really help much.  But I am very happy with the feather detail in the open snowball.  They came out very well and only a few times look like weird toes.  And I got to use my Christmas present of rulers by Bethanne Nemish.  I was honestly surprised with how easy they were - I guess all the practicing lately has paid off.


I had these left over flannel squares and the weird lozenge fabric so I thought I'd try a fancy sashing (from a workshop taught at one of the guilds I attend).  I used a new ruler set by Marti Michelle that worked really well.  The quilt isn't all that great (the pink and yellow with blue is a bit weird), but I hope someone will enjoy how cuddly the flannel is. 

Basic warm wishes to the rescue.  Zoo animals and cats don't exactly go together but I didn't have enough of either fabric, so they will just have to get along.


How to finish a flannel panel?  With left over flannel squares.  I am pleased with how well this turned out - and even more pleased that this was the last of those silly flannel squares!


Another odd panel, I decided to finish it off with some coordinating strips in an asymmetrical arrangement.

One more panel.  Looking through my stash for coordinating fabrics, I found the two blue fabrics sewn together.  No idea where they came from, but I chopped them up to make a 4 patch, added the narrow orange border and called it good.  Kind of like the off center.


The safari fabric was so fun, but there wasn't very much of it.  So I had to use an extra 4 patch in the corner. Fun and bright - my favorite baby quilts.


Where does time go! General quilts

 I remember my grandmother making that comment.  The older I get the more I understand.  It feels like just a few weeks since I updated this blog, but here it is June and it's been five months.  And 24 quilt tops.  Obviously I've been sewing (and remodeling a kitchen) but not much else.  I'll tackle the adult themed quilts first.

I recently took a class at my local quilt guild, taught by Nadine Watson called Perfect piecing.  This quilt is the result.  It was an excellent class and I do recommend it.  I especially loved learning about making flying geese that can be trimmed to the exact size.


I found some great magazines on the donation table recently and have been trying out some patterns from them.  This pattern by Pat Forster was in Quiltmania (what a great name for a quilting magazine). I changed it to blues, planning to hang it in our newly remodeled laundry room to help deaden the noise.  I had planned to call it Windmills, but after all the struggles with the quilting, I've decided to call it Learning Curve.

I wanted to do the quilting the same as in the magazine, which was all custom.  I learned to be careful and not lean my head against the screen on my long arm or else the stitch length might change.  I learned it's really difficult to remove stitches at 32 per inch.  I learned to make sure your machine foot is tight and centered with the needle or else the width of the line behind the needle is not the same as in front.  I learned to BREATHE and stay loose on meandering (tho I did NOT learn to like meandering).  I learned that I get better on ruler work by the bottom of the quilt vs the top.  And ultimately I had to learn to be satisfied with not perfect. 


All in all it is very nice quilt for a laundry room wall.  And it's got so much work in it, I think I'll enter it
in our local quilt show in September.


This quilt called Towers by Wendy Shephard was in AQ magazine.  I fell in love with the optical illusion and the bright colors.  It now hangs in my hall way and is very dramatic.   This one might go in the show too just because it looks so cool.  Anyone have idea for all the black & white tiny triangles left over?


I've also been having some fun trying out some new patterns using either donated fabrics or left over backing pieces or fabrics in my stash so long I cannot remember where they came from.  It reminds me of making a casserole with whatever you can find in the pantry.  

This is a standard disappearing 9 patch, but the fun is the narrow sashing that matches the center patch.  The inspiration I saw had a more narrow sashing, but I didn't feel like fighting to keep a very narrow one even.  The seam allowances can cause problems and visual wobbles, so I went with larger just to keep things easy.  The white fabric was a wide backing purchase from several years ago and has been used on a number of backs - but I still had lots of long left over strips.  I now only have one FQ sized piece left.  The blacks were all out of my scrap box and the yellow was off the donation table.  A great casserole!  I think I'm going to get some Minky for the backing, it will make a great sofa cuddle quilt.


The next pattern is called Tile Time, a design by Amanda Wilbert from APQ magazine.  I liked the secondary pattern which is intended to look like tile work.  The flamingo fabric was from the donation table and I just barely had enough.  Raiding my stash for coordinating colors I discovered I really need to buy some more teals and coral, this quilt used up the very last bits but they sure matched nicely.  The pale purple was from the trimming from a wide backing.

I've made the following pattern several times and I enjoy it every time, except for the bias on the setting triangles - but starch is my friend.  The pattern is called Chain letter by Daniela Stout.  These fabrics were all donation fabrics, some of them decidedly ugly.  But they came together for a very nice overall design.


Warm Wishes is such a great quick pattern and depending on the colors, can be very dramatic.  I found the striped border fabric in a donation pile and the colors matched perfectly.  I had to piece a few of the sea shell blocks as there wasn't enough, but no one will ever notice.


This pattern is one of my favorites.  It's basically an attic window block, constructed using half square triangles, but then arranging the blocks in a rotating pattern rather than straight.  You get such a fun pinwheel effect. the 4 inch squares were from a stash of donated novelties where many were flowers.  The dark blue pinwheels were very faded but I was able to cut around the fade marks.


So, it has been a very productive first half of the year, even with a four and half month kitchen remodel in progress - which will be completed in two more days - yippee!  Then on to the back patio.  That's one of the benefits (and downsides) with working at home.  You come up with so many projects while sitting in your home office, looking.

Wednesday, January 24, 2024

Sewing room update

While fixing some missing photos in old posts (how does that happen?), I noticed it has been quite a while since I posted an update on my sewing room.  So here's the latest.

Last summer we replaced the carpeting on that side of the house, which required disassembling my long arm and moving everything out of the room.  Including a very heavy, very large fold out sofa.  We had to put it up on end, balanced on the curved arm, and slide it out on a piece of cardboard, twisting as it was pushed through.  It barely fit through the door and it wasn't easy.  Once we got it out, everyone agreed it would stay out.  Since we had first put it in the sewing room to use as a guest room, both our kids have gone to college and moved out.  So we now have two other spare rooms for guests and really don't need to use my sewing room.  Yippee, more room!  Sofa has been sold and two trundle beds are in the kids old rooms.

I decided I really wanted my long arm to be against the opposite wall, with a small walk space between the table & the wall.  We ordered wheels for the table thinking it would be easier to move.  But they are very difficult to adjust the height, so I've not ended up moving it much at all.  There is a small space where I can walk around the back, but I only do so to plug in the machine.

Moving the table opened up the center of the room and makes it more inviting.  I also had room to add a small reclining chair to watch TV.  The cat isn't particularly pleased as he can't sit next to me any more on the sofa.  But he does like sleeping in the chair, mostly because I keep a folded quilt there and everyone knows the best cat trap is a folded quilt.  

I am able to have two machines out for sewing, though I keep one of them lowered in the cabinet and use it as a work surface.  If I am hosting other sewers, I can also open up the back on cabinet and sit someone there, though the rocker has to be moved first (tetris).


I really love being able to walk around my cutting table now.  It lessens the times I'm doing contortions to cut something.

Here is my nice big design wall, hung from a curtain rod using binder clips.  Hey, it works and it's easy to move if I decide to rearrange (again).


One downside to moving the long arm table is the surface is not as convenient to use as a pressing area.  Walking around to the back of the table is very narrow and just too difficult and leaning over from the front hurt my back. I ended up putting my pressing table in the bathroom on the counter.  It isn't in the way if someone does need to use the bathroom and it is nice to have it out of the way - and on a different electrical circuit.  I'm a little nervous about dropping the iron on the tile floor but I found some foam cushioning that I put there to also help with foot fatigue.  I raised the surface above the counter using some 4 x 4 blocks previously used to raise my cutting table (before I got the adjustable one).


I love having the walk-in closet but it would be nice to move the Christmas decorations out - another project. 


I made this applique sign for my door.  The knocker underneath was my mother's who was a pianist & singer.  Welcome to my happy place!